 |
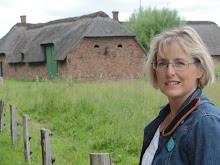
| Signe's Nest, Kolding, Denmark |
No architecture school.
No banging with hammers.
No plans... but a great result with the materials at hand.
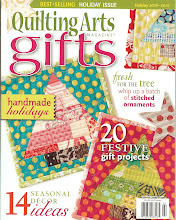
Here's a quick tutorial of how I make my nests. You can read more about the process in the April/May issue of Quilting Arts Magazine.
 |
| Prepared Background with nest base and eggs |
2. Cut an oval out of fabric and stitch or glue it to your background. Add eggs now, or later if they will be stuffed.
 |
| Adding Fibers |
4. Weave additional fibers in as needed, and glue pieces in place if necessary.
5. Add all embellishments, then frame in a deep shaddowbox frame behind acid free mat board.
 You can do so much with these collages. I've used postage stamps in my backgrounds, milner's leaves and flowers for embellishments, stuffed eggs as 3d components, and even vintage cookbook text (about cooking eggs, of course!) as hidden messages within the pieces.
 Making art, just like making a home, is all about adding your own personality to your work.
Three of my framed Nest Collages are available in my ETSY SHOP. They were all featured in the QA article.


1 comment:
Beautiful.
kim
Post a Comment